Dein Warenkorb
Your cart is empty
Continue shopping
Drawer menu
Quick guide to liquid wax (detailed below) :
Waxing your chain on your road bike, gravel bike or everyday bike has enormous advantages.
The first steps are the same for liquid wax and hot wax.
Cleaning the chain (new or old)
Step 1: Clean and dry the chain
In order for the liquefied and hot wax to get onto and especially into the chain, the links must be thorough from the original greasing (oil) free.
This can be done by diluting it with nitro thinner in a mason jar.
One or more chains are shaken a few times until the nitro thinner remains clear.
Depending on the manufacturer, this may take a little longer, usually 1-3 passes.
The nitro thinner can then be easily reused if you run it through a filter (coffee filter).
Attention: This should only be done in the fresh air and ideally while wearing respiratory protection.
Important, no matter what your requirements are when growing, it is important that the chain is as fat-free as possible becomes.
The last step should be to use a brake cleaner. The advantage here is that it evaporates without leaving any residue.
At the Regrowth the chain then driven is all this is no longer necessary.
Of course, please don't put any more oil on it afterwards, otherwise the whole process would start all over again.
By the way: All liquids that are produced in this way are a case for the recycling center!
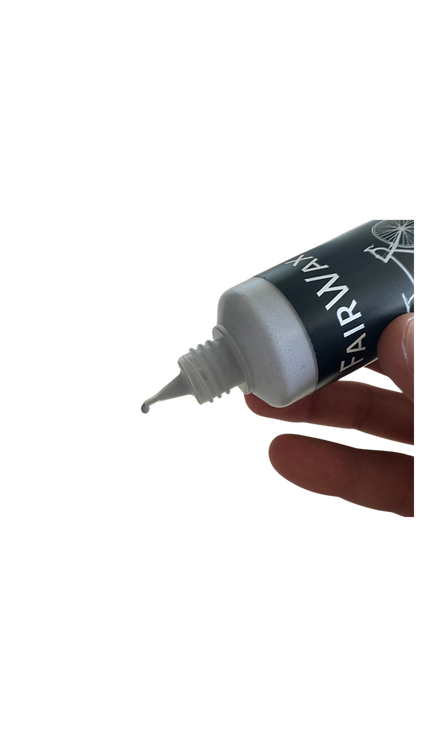
Step 2: Apply liquid wax to chain
The sparkling clean and grease-free chain is now applied to the chain as usual using the same procedure as other lubricants.
Shake it a little beforehand.
It is helpful here if the chain is rotated backwards when turning the pedals, so that the liquid wax is applied to the inside while the pedals are continuously turning. This way you can apply a generous amount without worrying that what drips off was too much.
If you have an e-bike that doesn't take the chain with you when you pedal backwards for freewheel reasons, here's a little trick:
The chainrings on the crank usually have screws with an Allen key (hexagon), often size 5-8) and a bit like this can be inserted here without loosening the screw. Now the pedals can be turned backwards very carefully until the crank comes to the bit and thus takes the chainring and chain with it. Lo and behold, we can lubricate without stress.
Corresponding sets in different sizes are also available in our online shop.
Now the wax should be left overnight in a dry place to harden. The warmer it is, the faster it will go.
Once the wax has dried, you can begin.
If you get into the habit of greasing your bike after you leave the station, you can avoid having to wait.
If you apply lubrication and have to leave before the drying time is up, this is not necessarily a bad thing. It's just that the lubrication effect is not optimal and if it gets wet, all the lubrication would be removed.
In addition, dirt can stick to it, which would otherwise not be the case.
After the short trip, dry and lubricate again plus wait time.
The mileage of such a lubrication depends on many conditions.
When driving on dry roads, a performance of around 100-250km is possible.
Pulling the chain through a microfiber cloth every now and then is
the dream of every waxed chain, especially after exposure to moisture.
If you like to take a pragmatic approach, simply apply a generous amount of liquid wax and you're done.
*This is only intended as a help and not as a binding guide. We exclude any claims against us. No claim to completeness.
Please fill out the following form to declare your withdrawal from the contract.
